Miso Chocolate Chip Cookies Recipe

A chocolate chip cookie is something that can be both simple and complex. One can make delicious in a very short amount of time. The classic Nestle Toll House recipe (the first ever chocolate chip cookie recipe, dating back to the 1930s), for instance, takes very minimal effort and takes approximately 15 to 20 minutes from start to finish.
On the other hand, a chocolate chip cookie can also be highly meticulous. A seemingly simple cookie can take years to perfect—to some bakers, it can even become an obsession.
While the Toll House type will always be a classic, recipes such as this one show how one simple dessert can turn into something exquisite, having flavor profiles you never thought could exist in a cookie.
For this recipe, we’re using dark chocolate and adding Japanese Shiro miso (also known as white miso), a soybean paste that adds a beautiful depth and umami to sweet and savory goods. We’re breaking down the recipe into three parts: the mise en place, the actual assembly of the cookie dough, and baking. By having all ingredients ready, you’ll be able to pay close attention to the mixing, which requires close attention. The different steps may seem intimidating initially, but it’s pretty simple overall.
Lastly, make sure to read the recipe before you even start putting together the ingredients. They come together pretty quickly.
Directions
Part I: Mise en place
1. Prepare one large and two medium bowls.
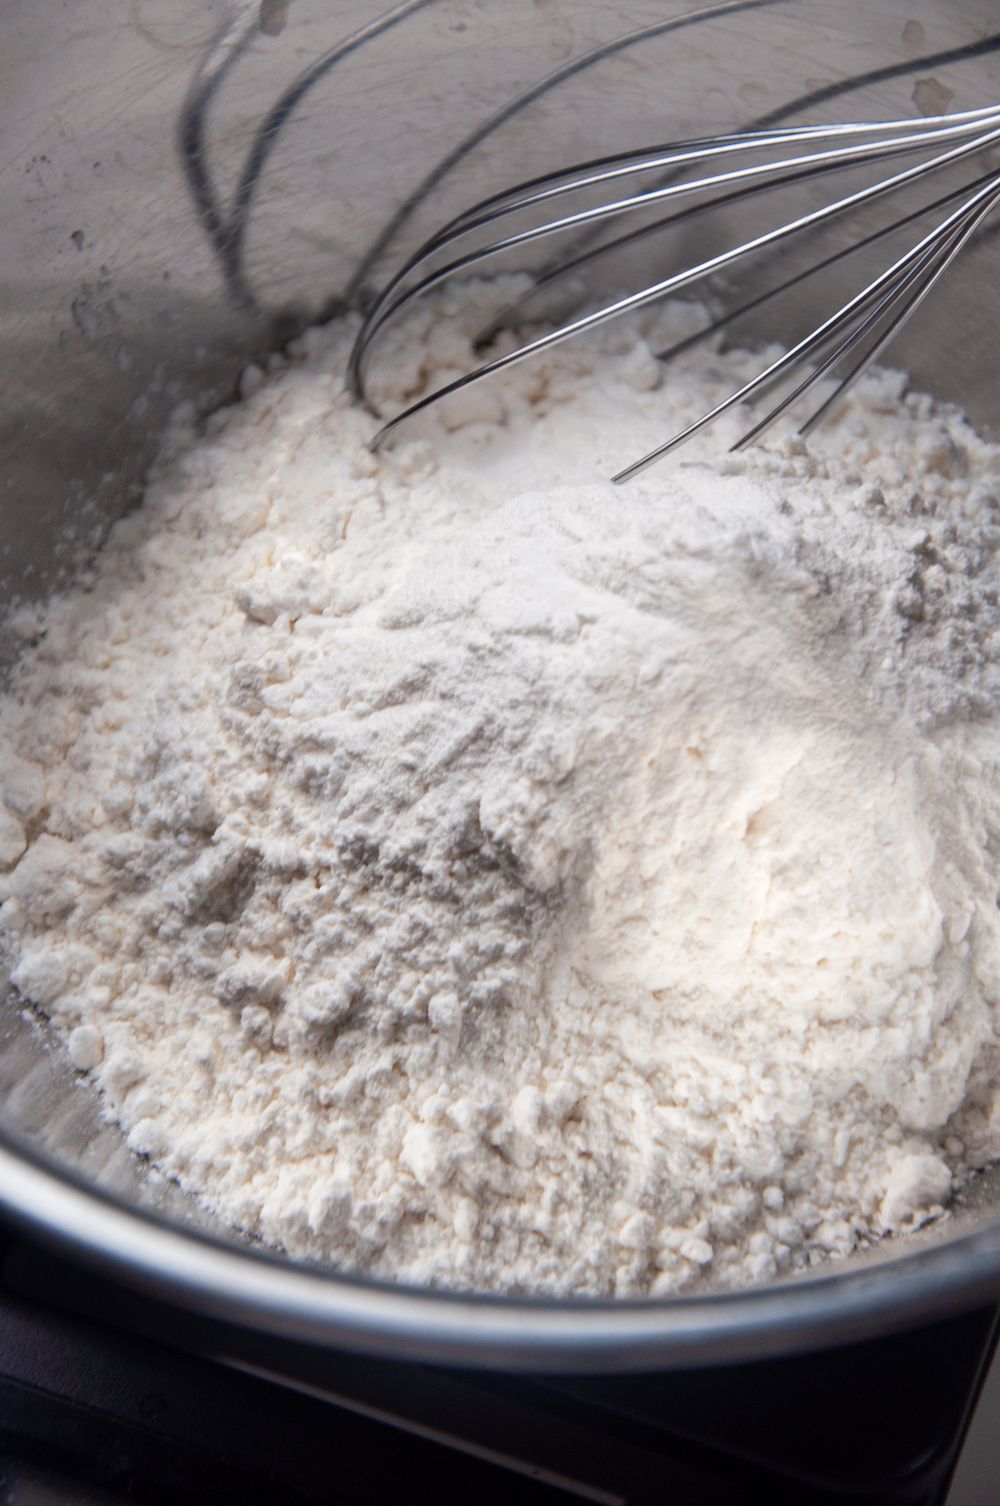
2. Whisk the brown and white sugar in the large bowl, combine the all-purpose flour and the baking soda in the medium bowl, then set both bowls aside.
3. Using a large cutting board, chop the chocolate into uneven pieces. Leave some pieces chunky, and make some that look like shards. Place the chopped chocolate in the other medium bowl and set aside (if the chocolate melts a bit, it’s best to keep them in the fridge until it’s time to use them).
Part 2: Cookie dough
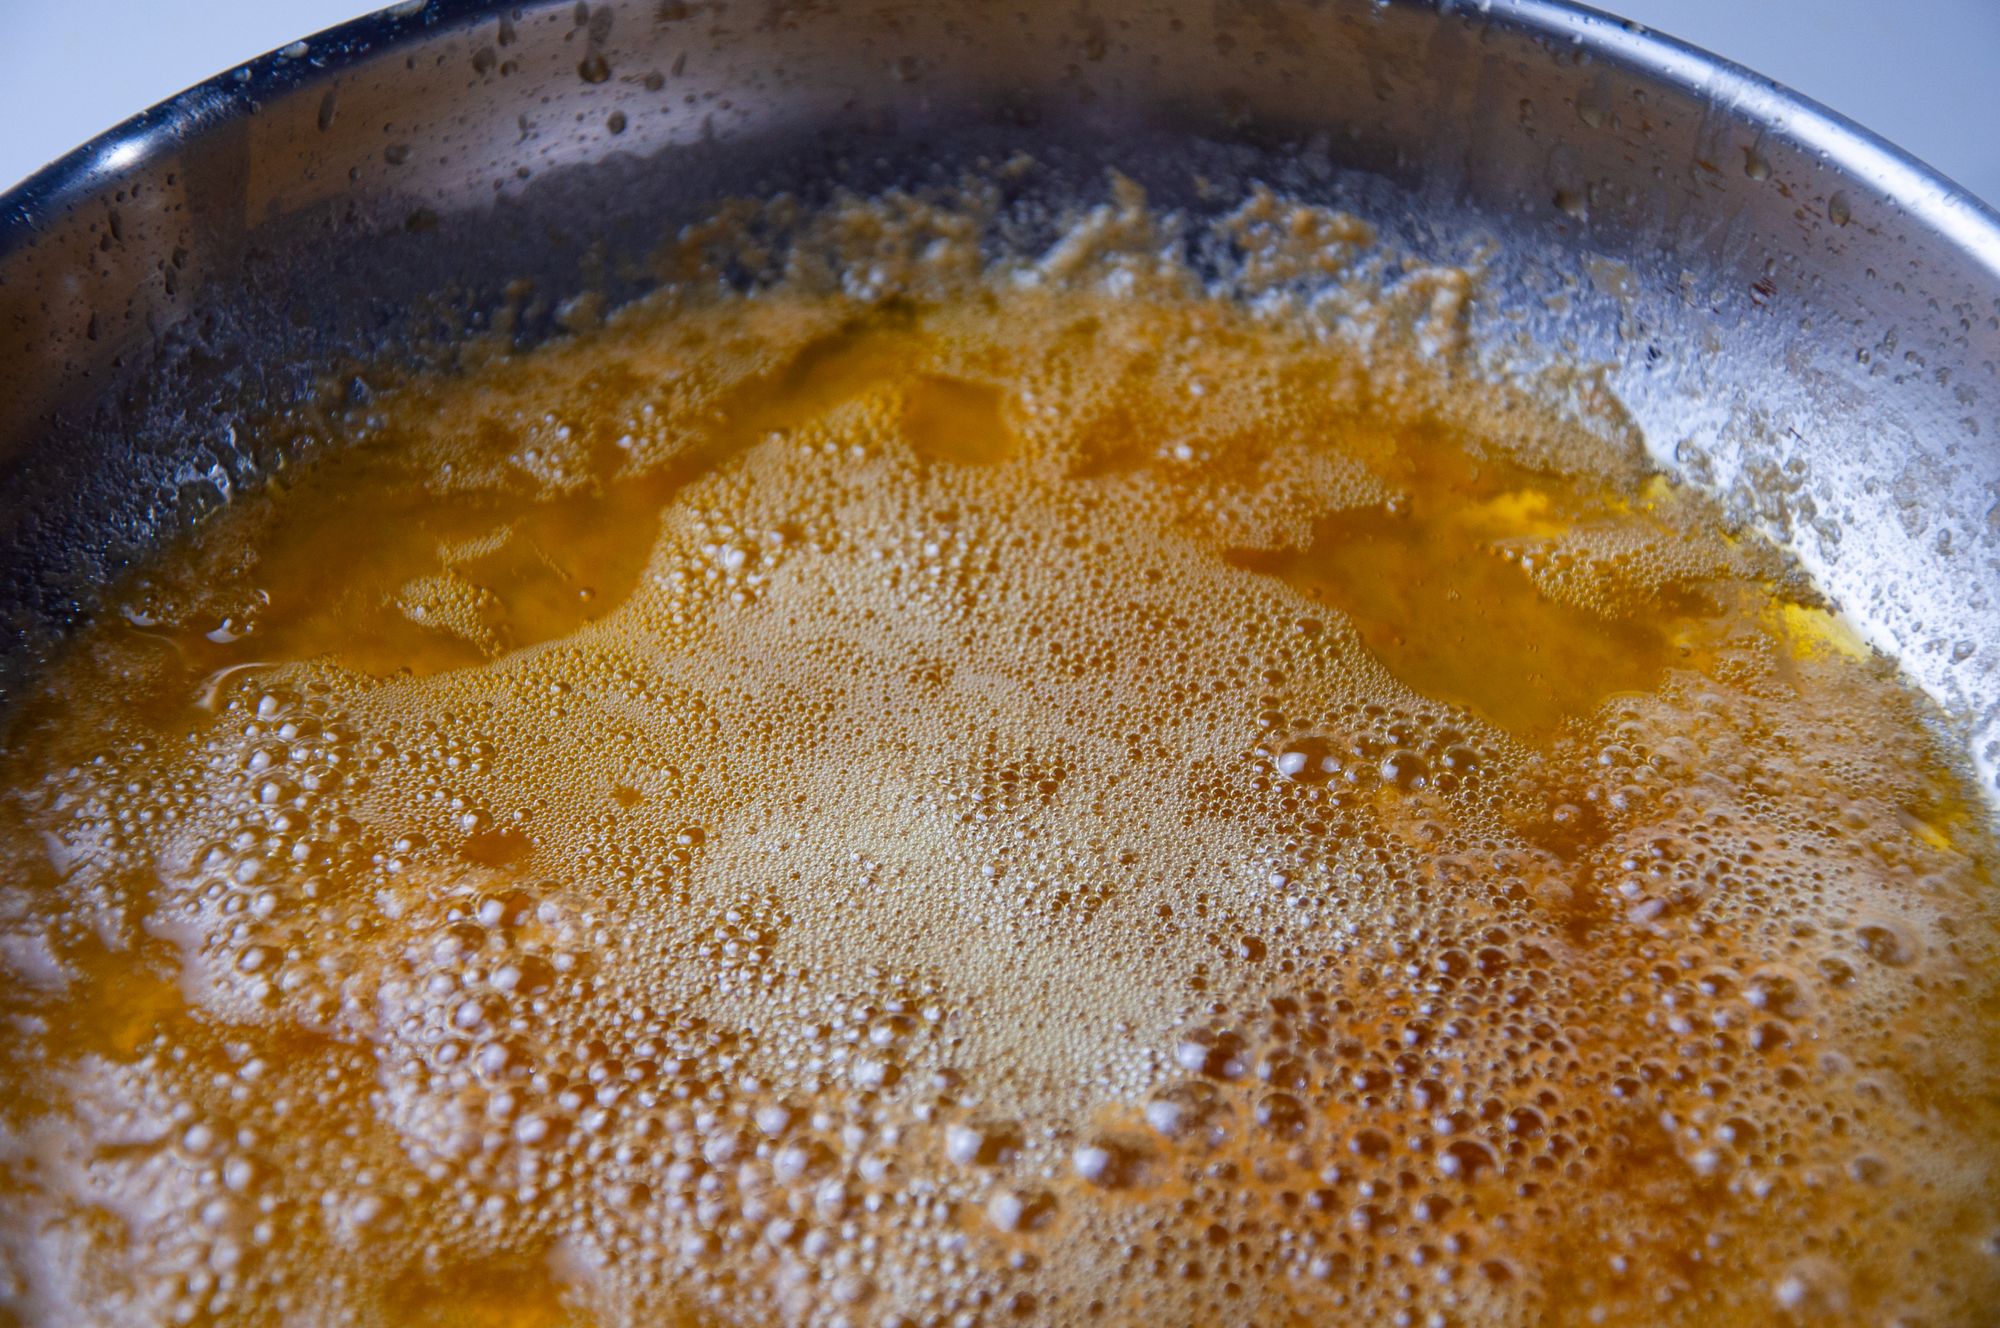
1. Brown the butter. After slicing the butter into cubes in a medium saucepan (light-colored, if possible), melt it under medium-low heat. Use a wooden spoon or a whisk to stir the butter as it melts. It will begin to build a foam and rise and then subside. The butter should be golden-brown at this point; you’ll notice that there are brown bits at the bottom of the pan. Turn off the heat and cool in the pan for about five minutes.
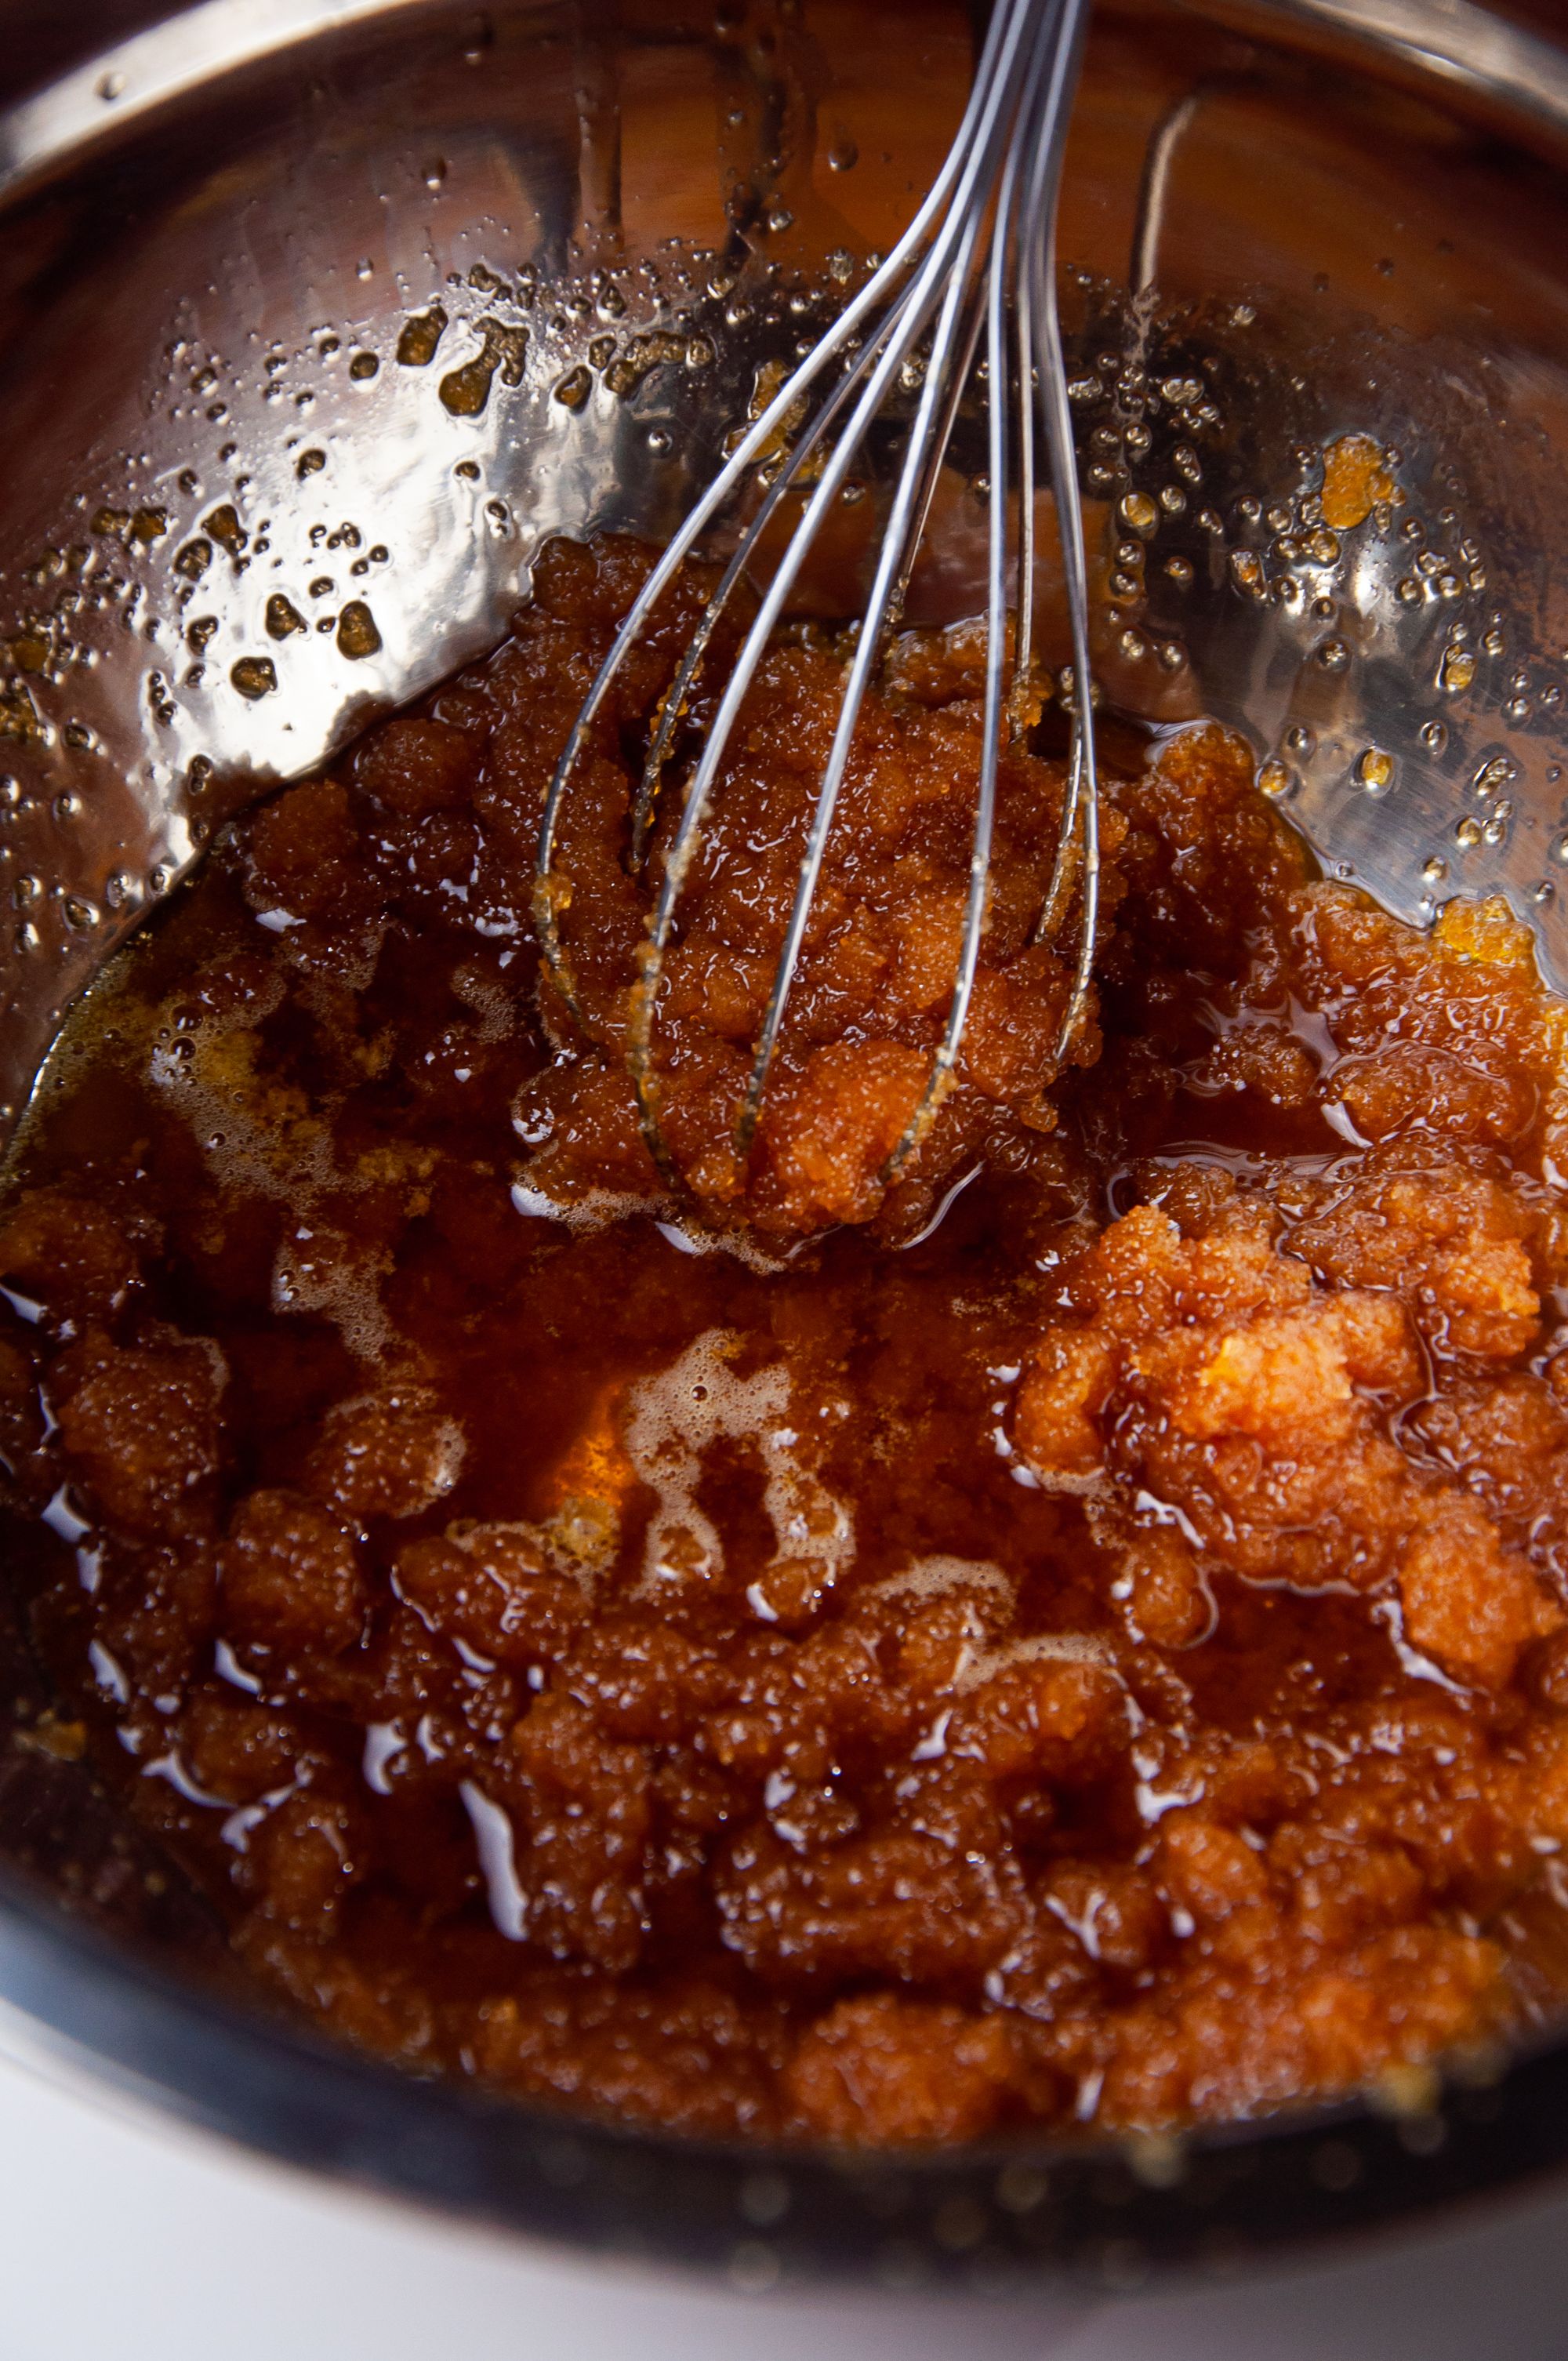
2. Pour the warm browned butter into the sugar and salt mixture. Whisk until combined.
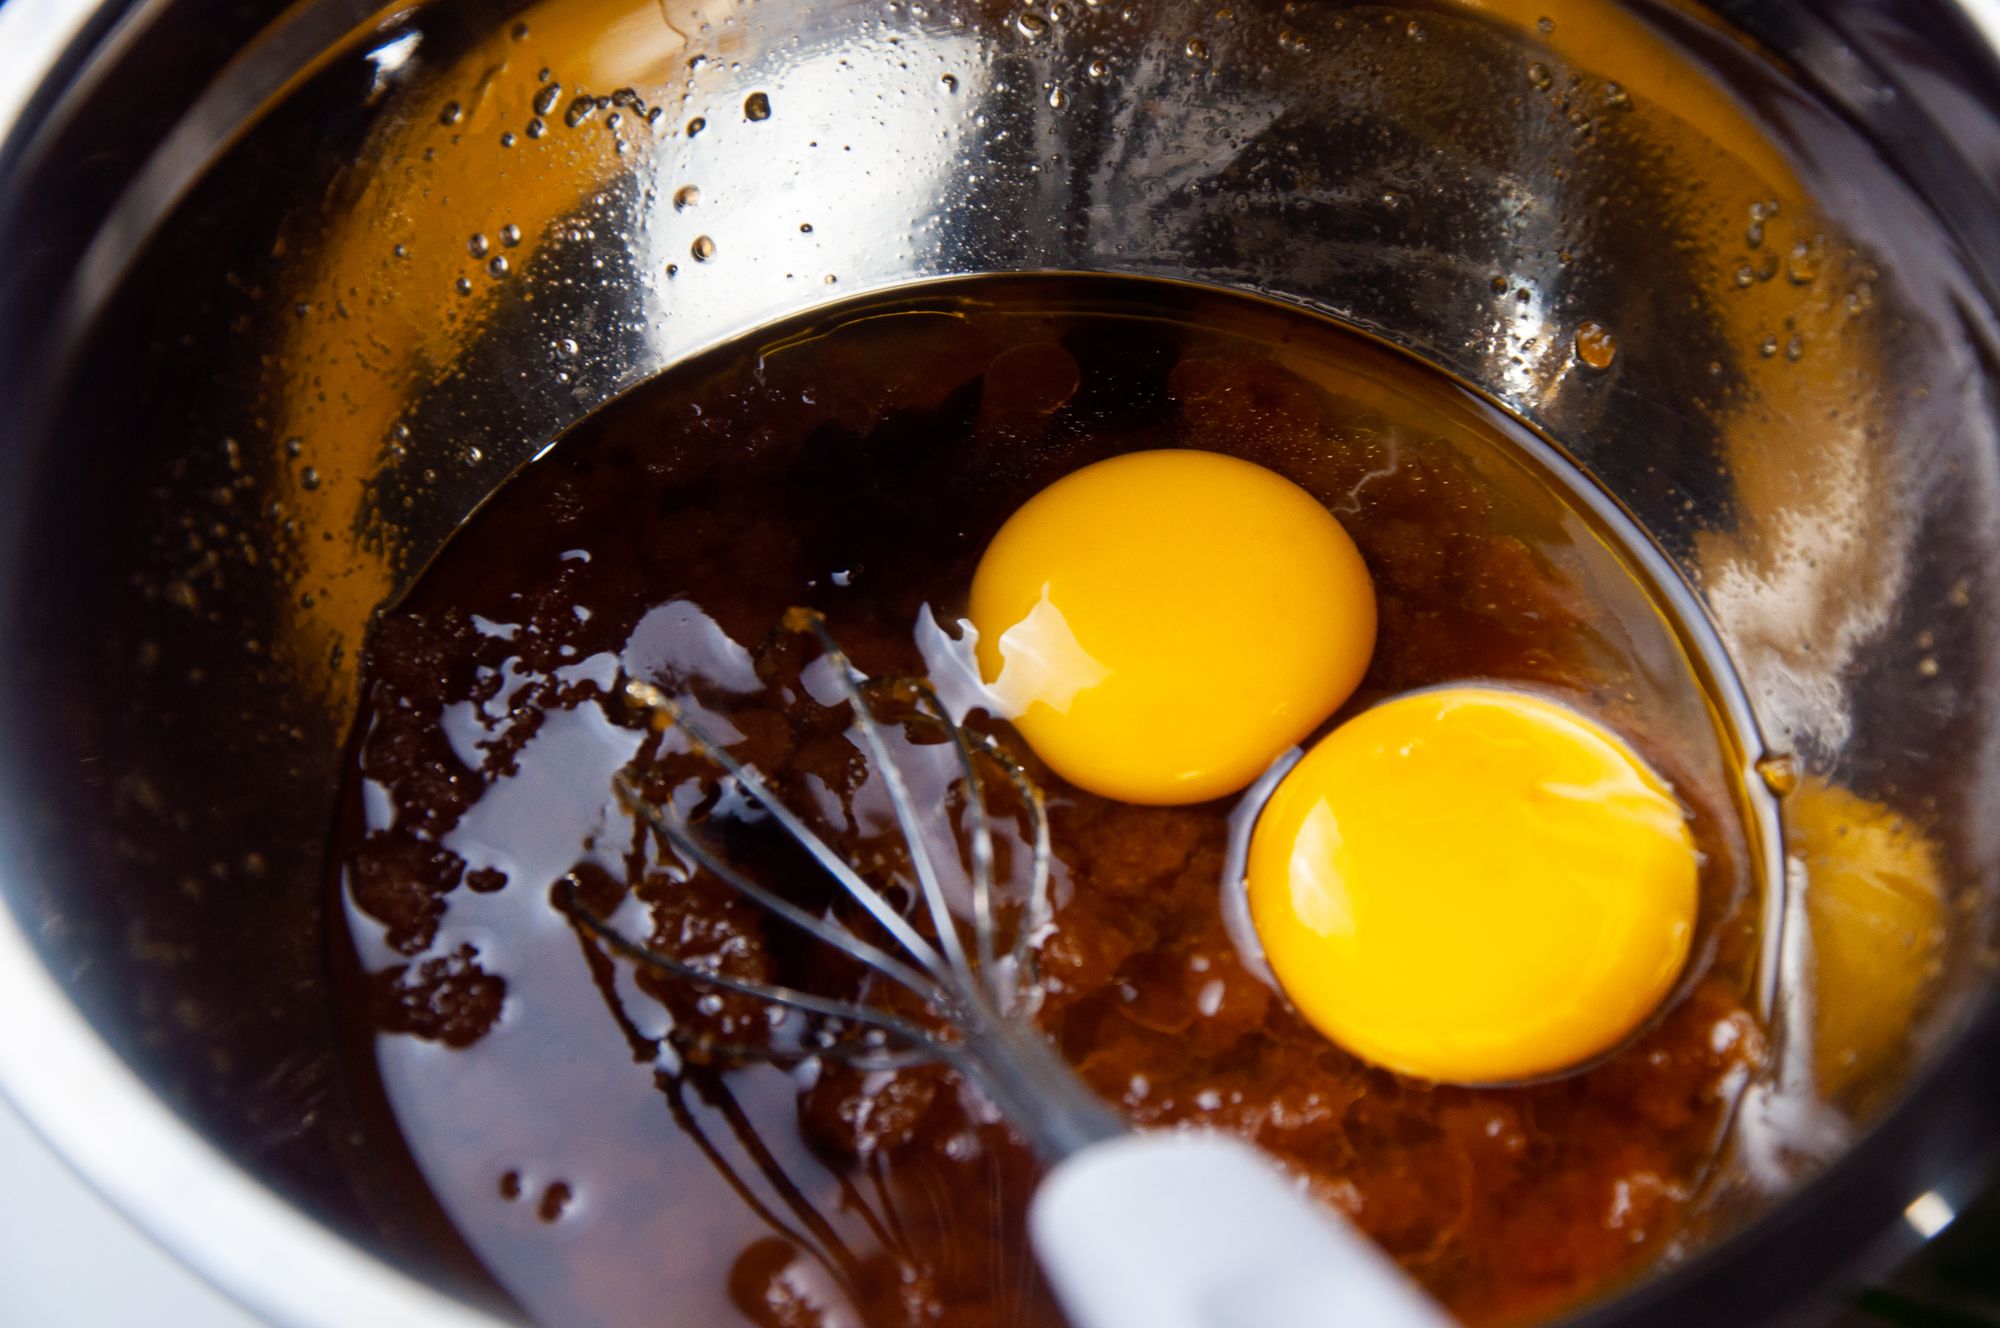
3. In the same bowl, add the shiro miso, egg and egg yolk, and vanilla. Whisk slowly until they are combined. Note that it's important to add the miso after the butter because it needs to melt into the mixture.
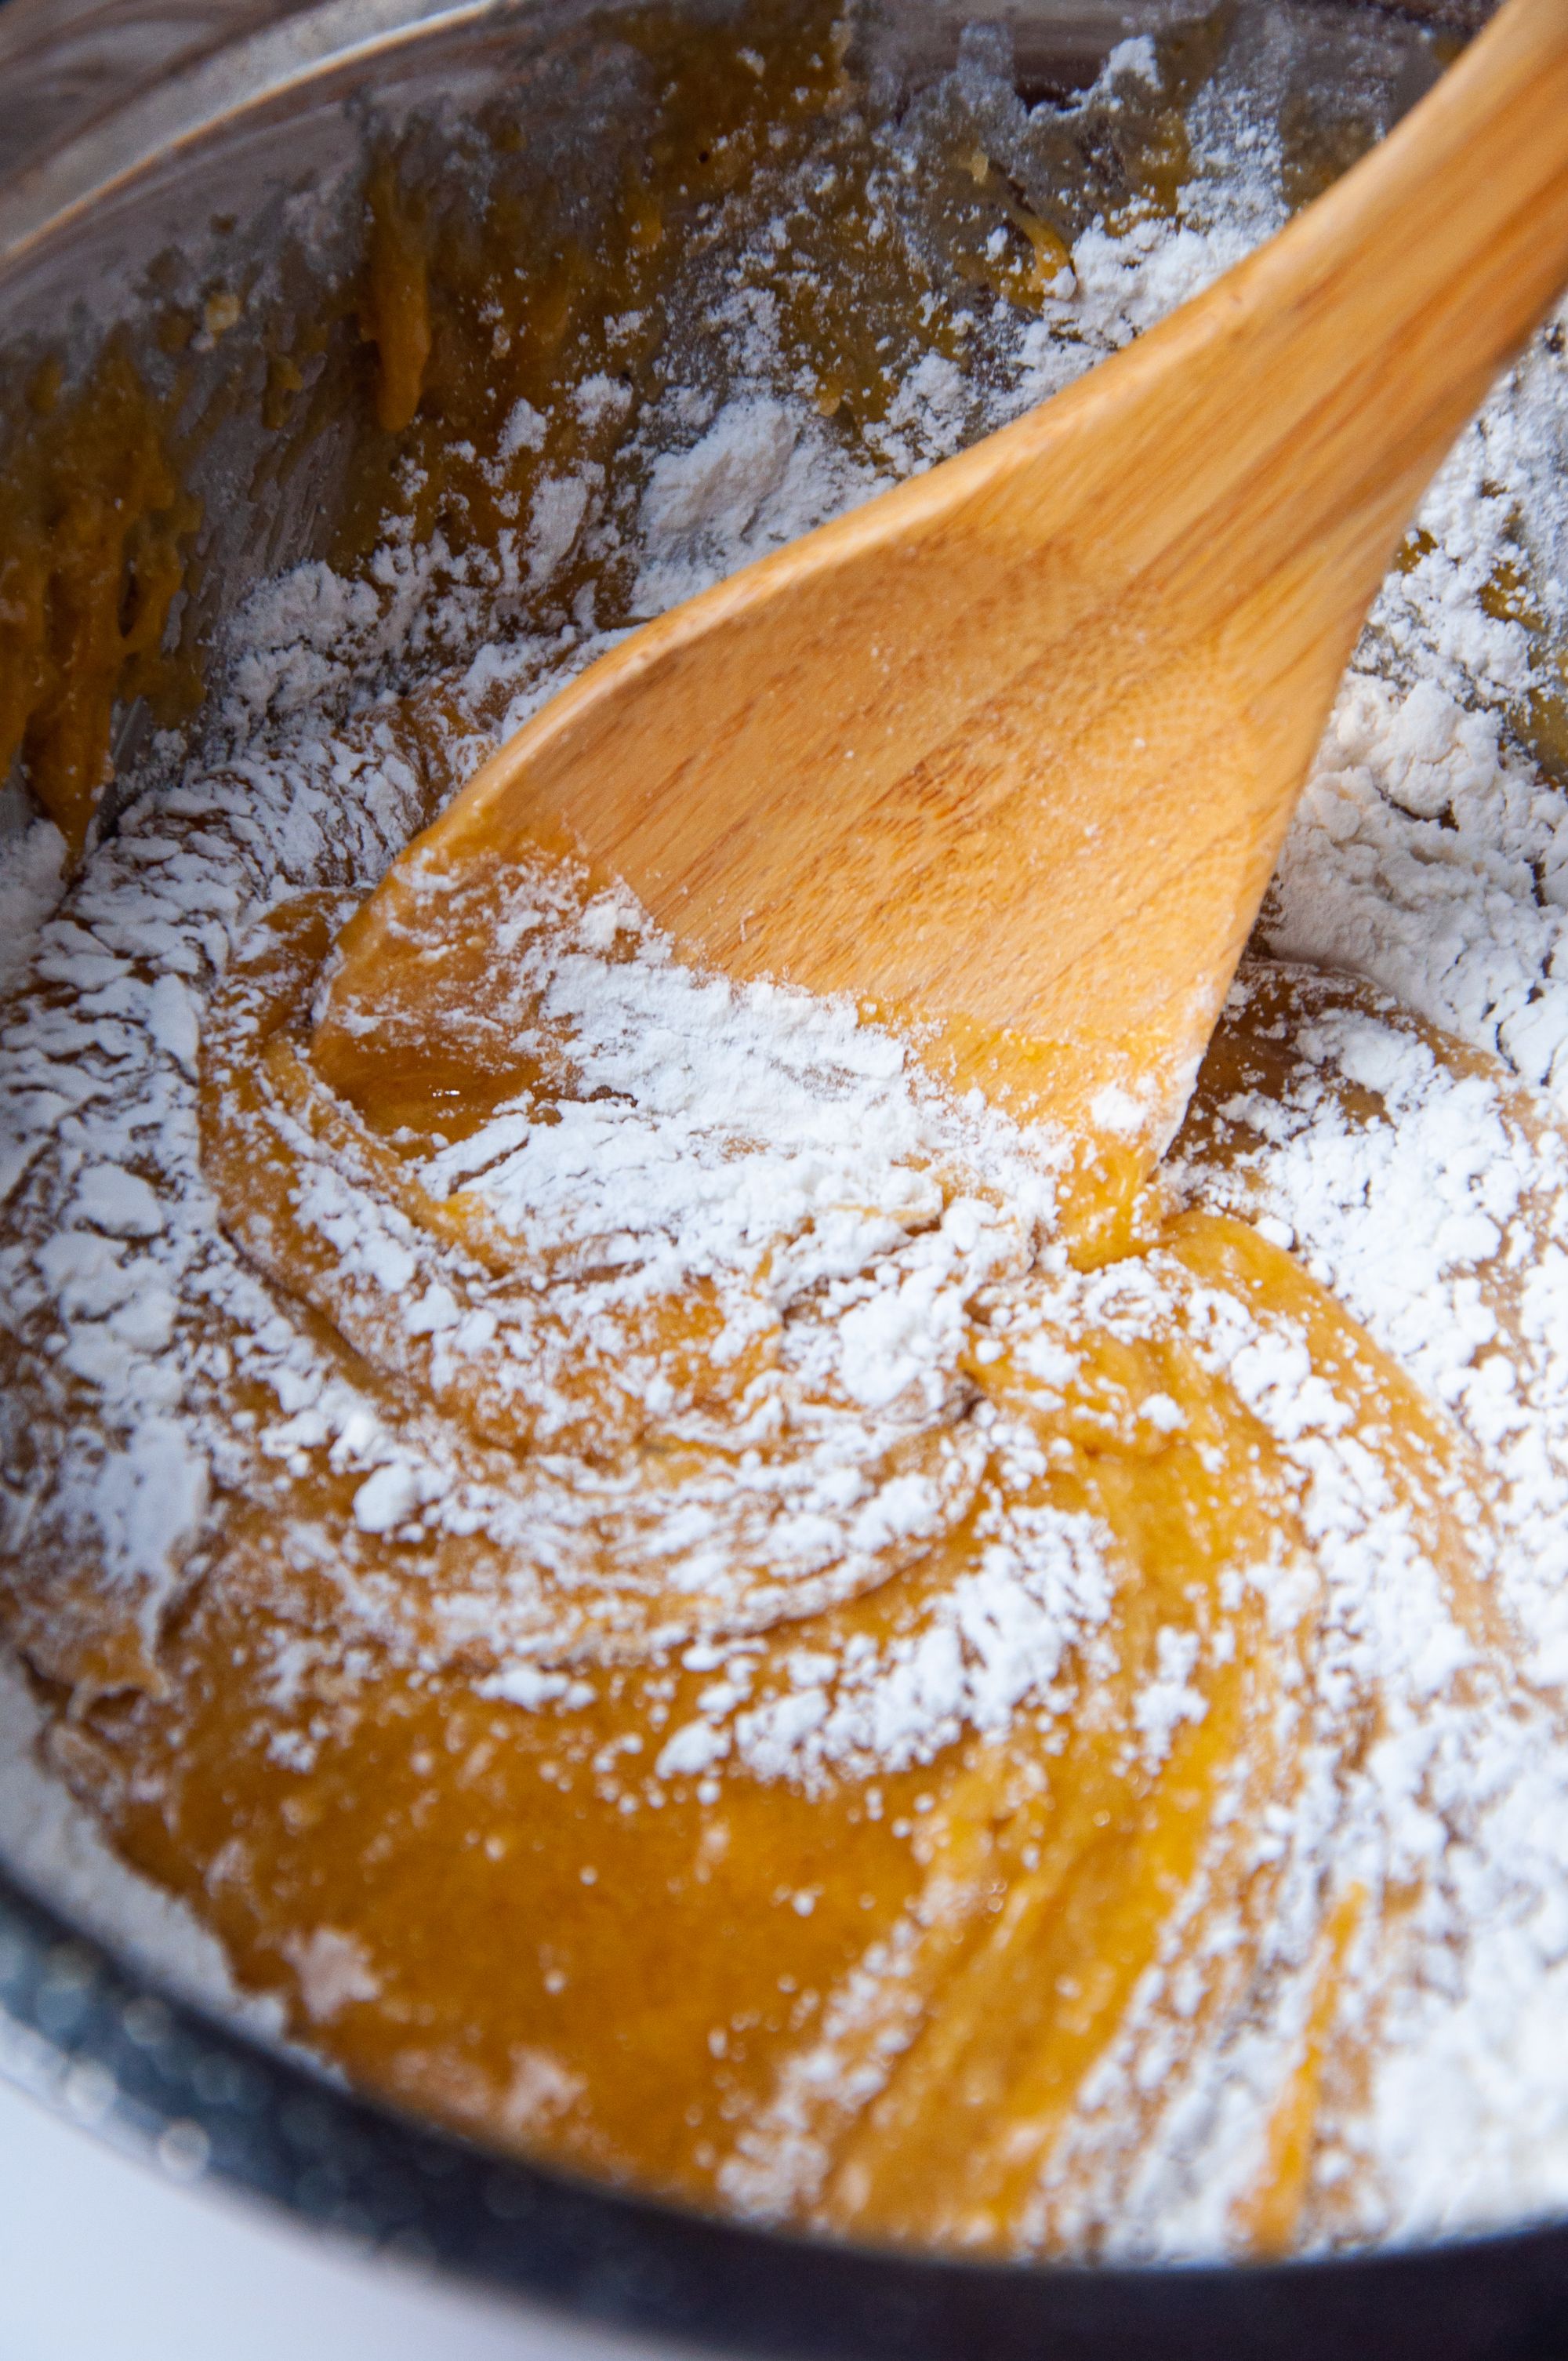
4. Add in the flour mixture, and with a wooden spoon, mix the ingredients until there are no more traces of the flour left. Do not overmix.
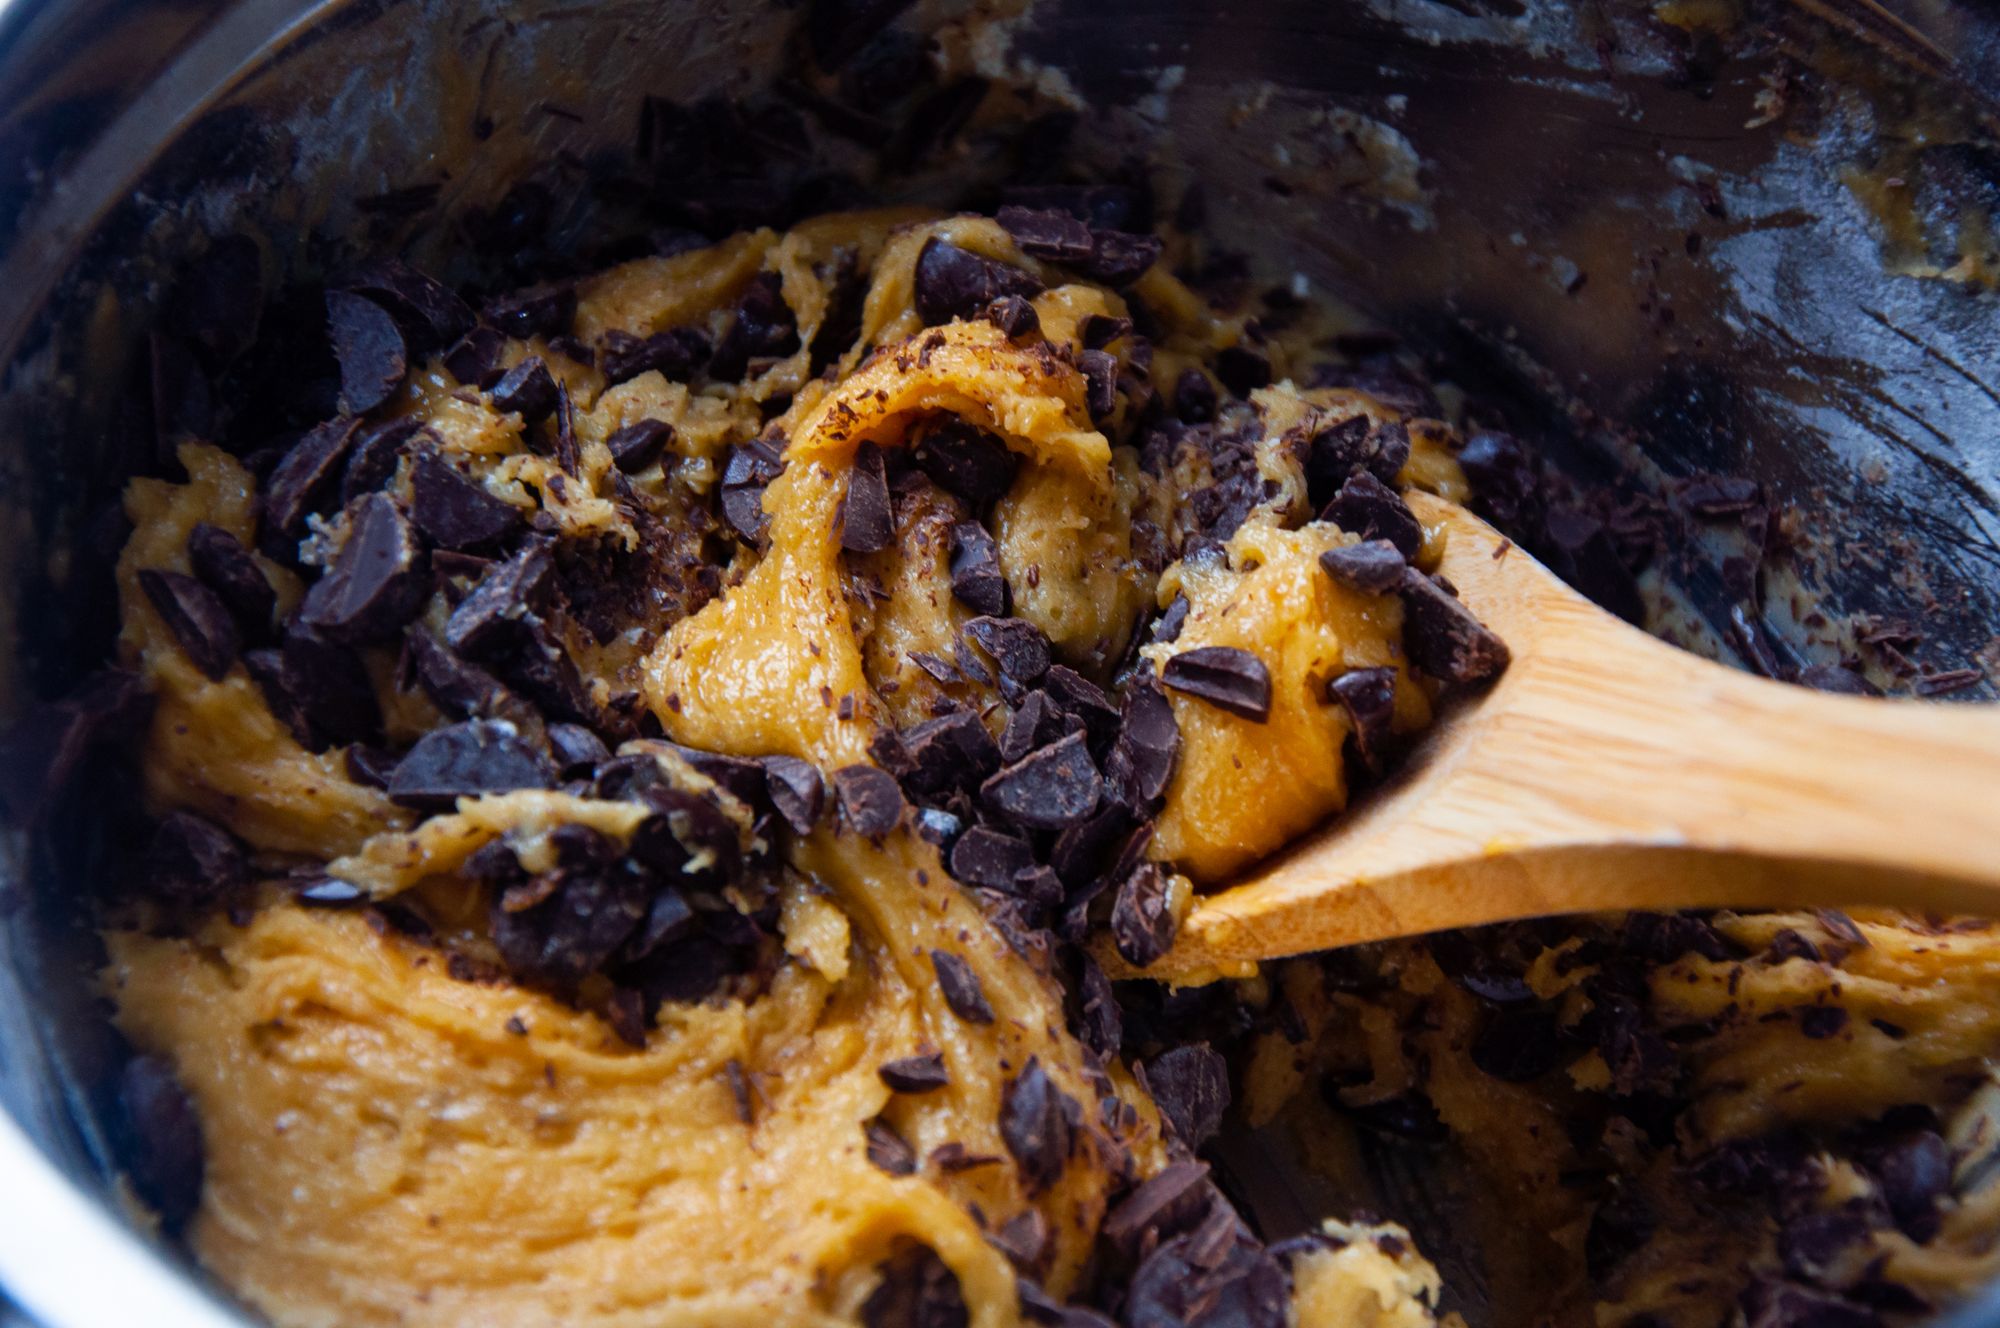
5. Finally, add the chopped chocolate chips and mix until just combined.
6. Refrigerate the cookie dough for one to two hours before scooping. This step is crucial—the dough is too soft at this point, and scooping it at this point will be messy.
7. Once cooled, scoop the cookie dough into a resealable container lined with parchment. You can use a standard 3-tablespoon ice cream scoop, or better, measure 50 grams of dough and shape them into balls. Cover the container and freeze for at least six hours (you can keep the dough frozen for two months).
Part 3: Baking
1. Preheat the oven to 375F.
2. Once your oven has reached its desired temperature, place the frozen cookie dough on a parchment-lined half baking sheet tray.
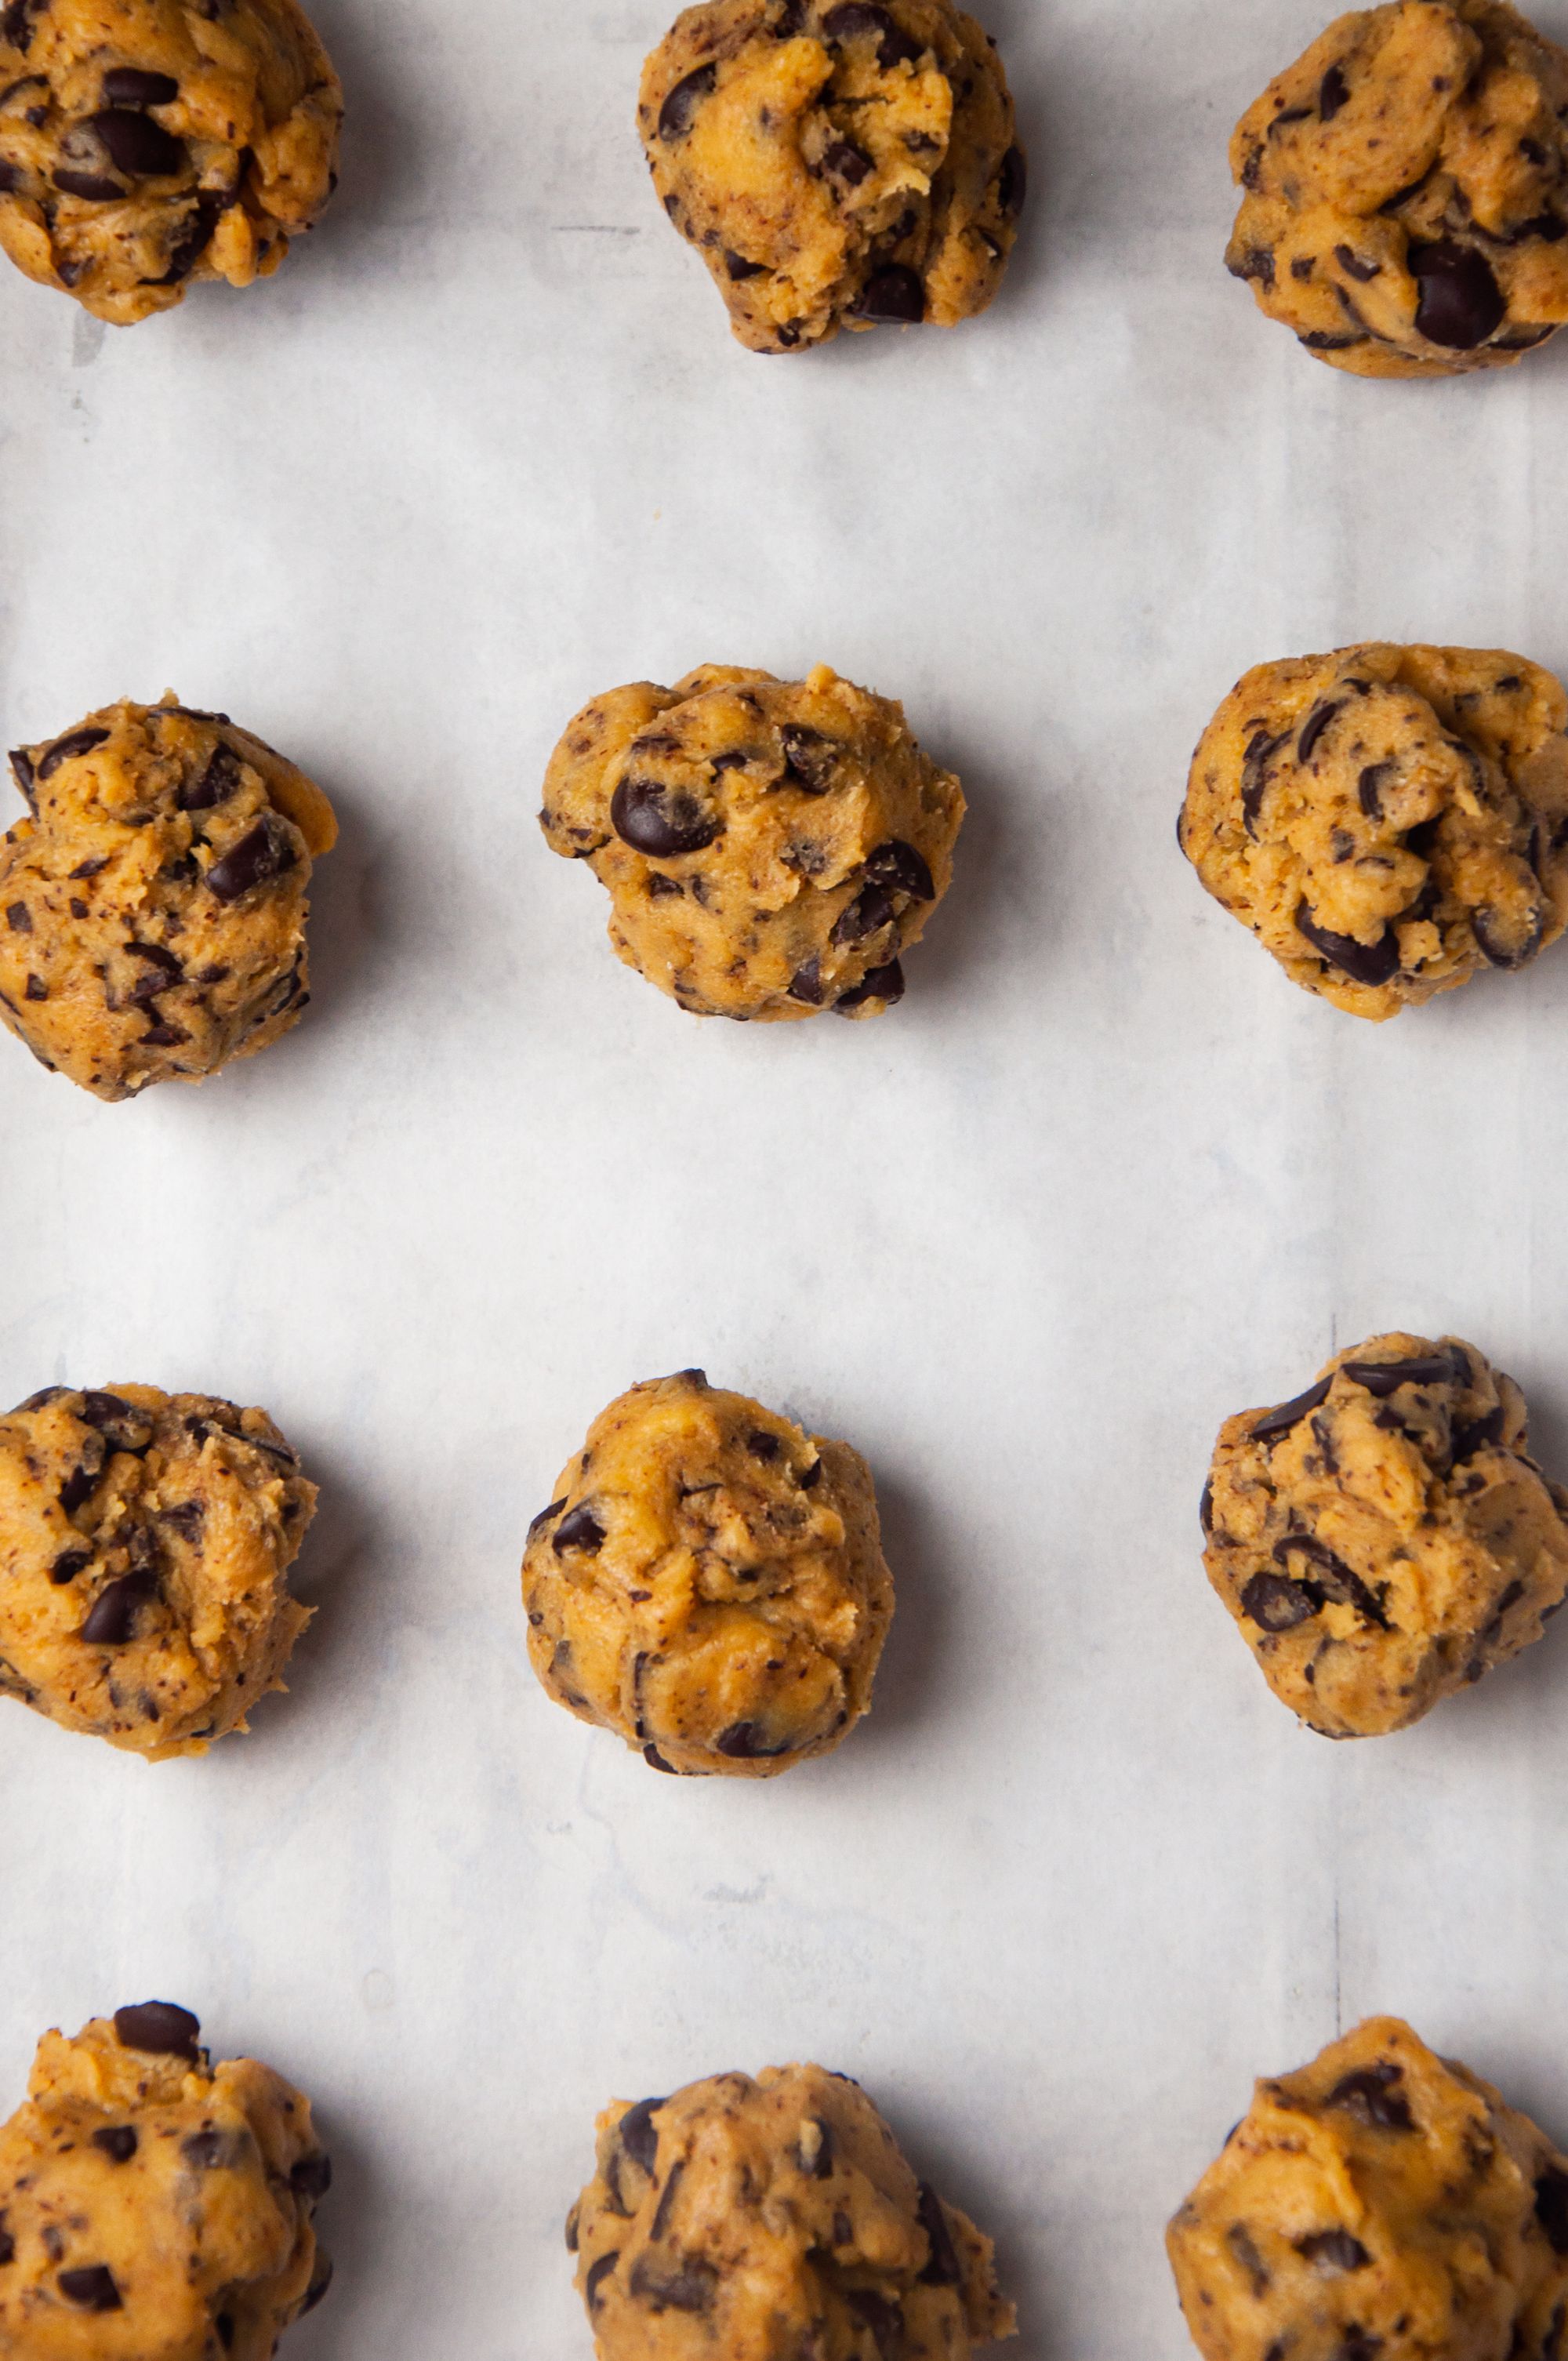
3. Bake the cookies for 12-14 minutes. At the 9-minute mark, lower the temperature to 350F. Note that because oven temperatures vary, it is always best to use an oven thermometer.
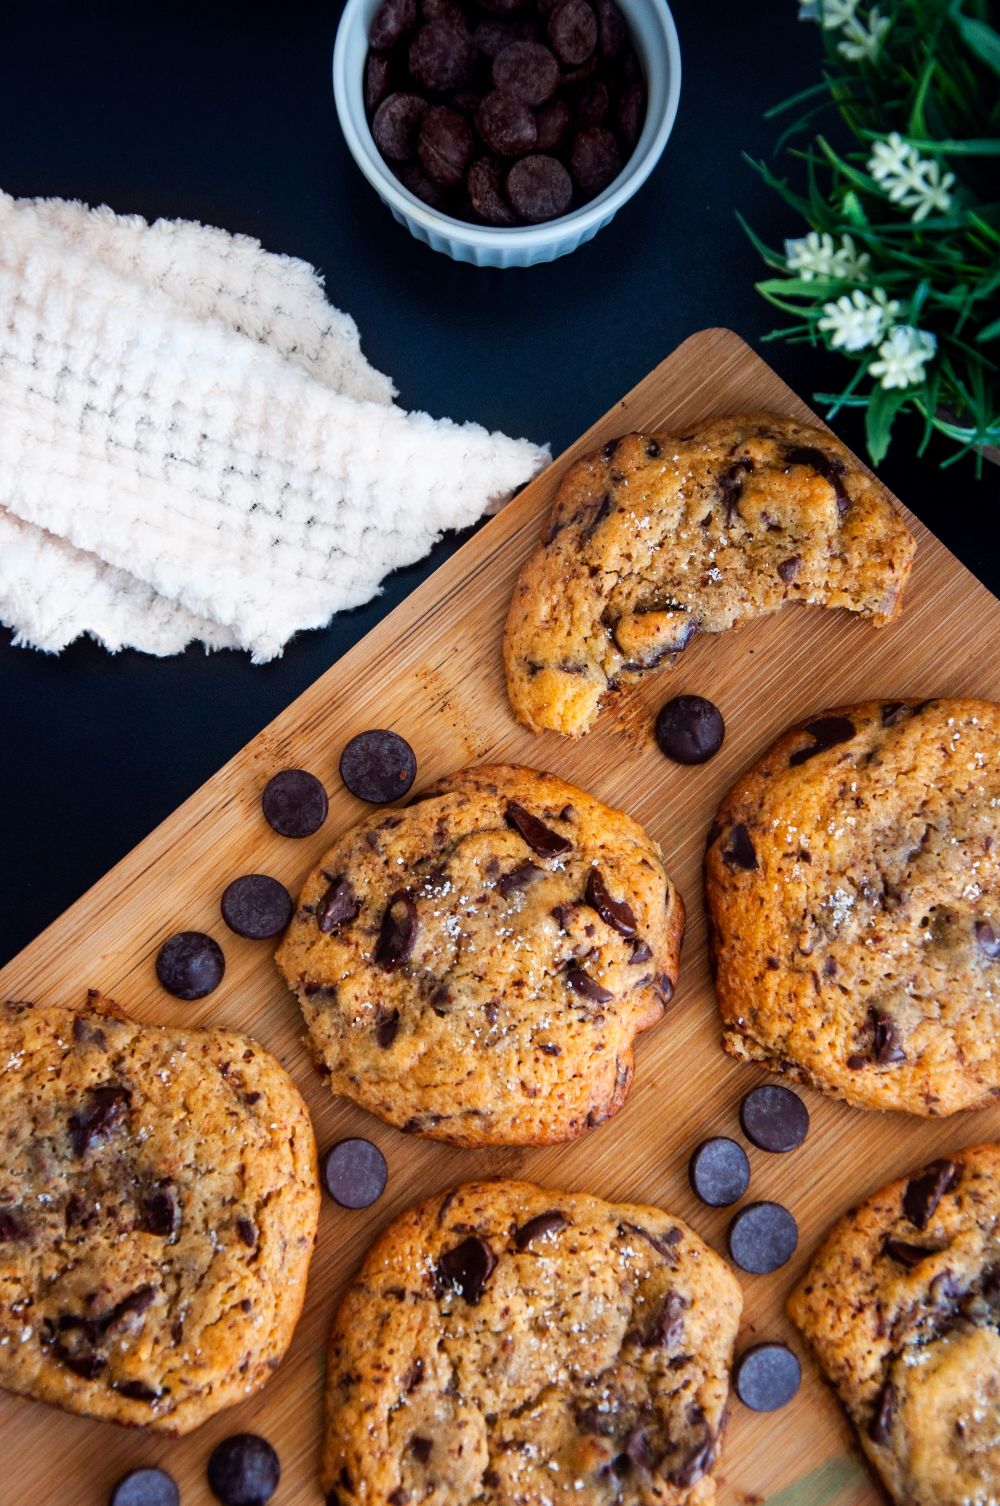
4. Once the cookies are baked, cool them in the baking tray on a cooling rack for about 5 minutes. Remove the cookies from the tray and transfer them to a wire rack to cool completely. Sprinkle sea salt to finish.
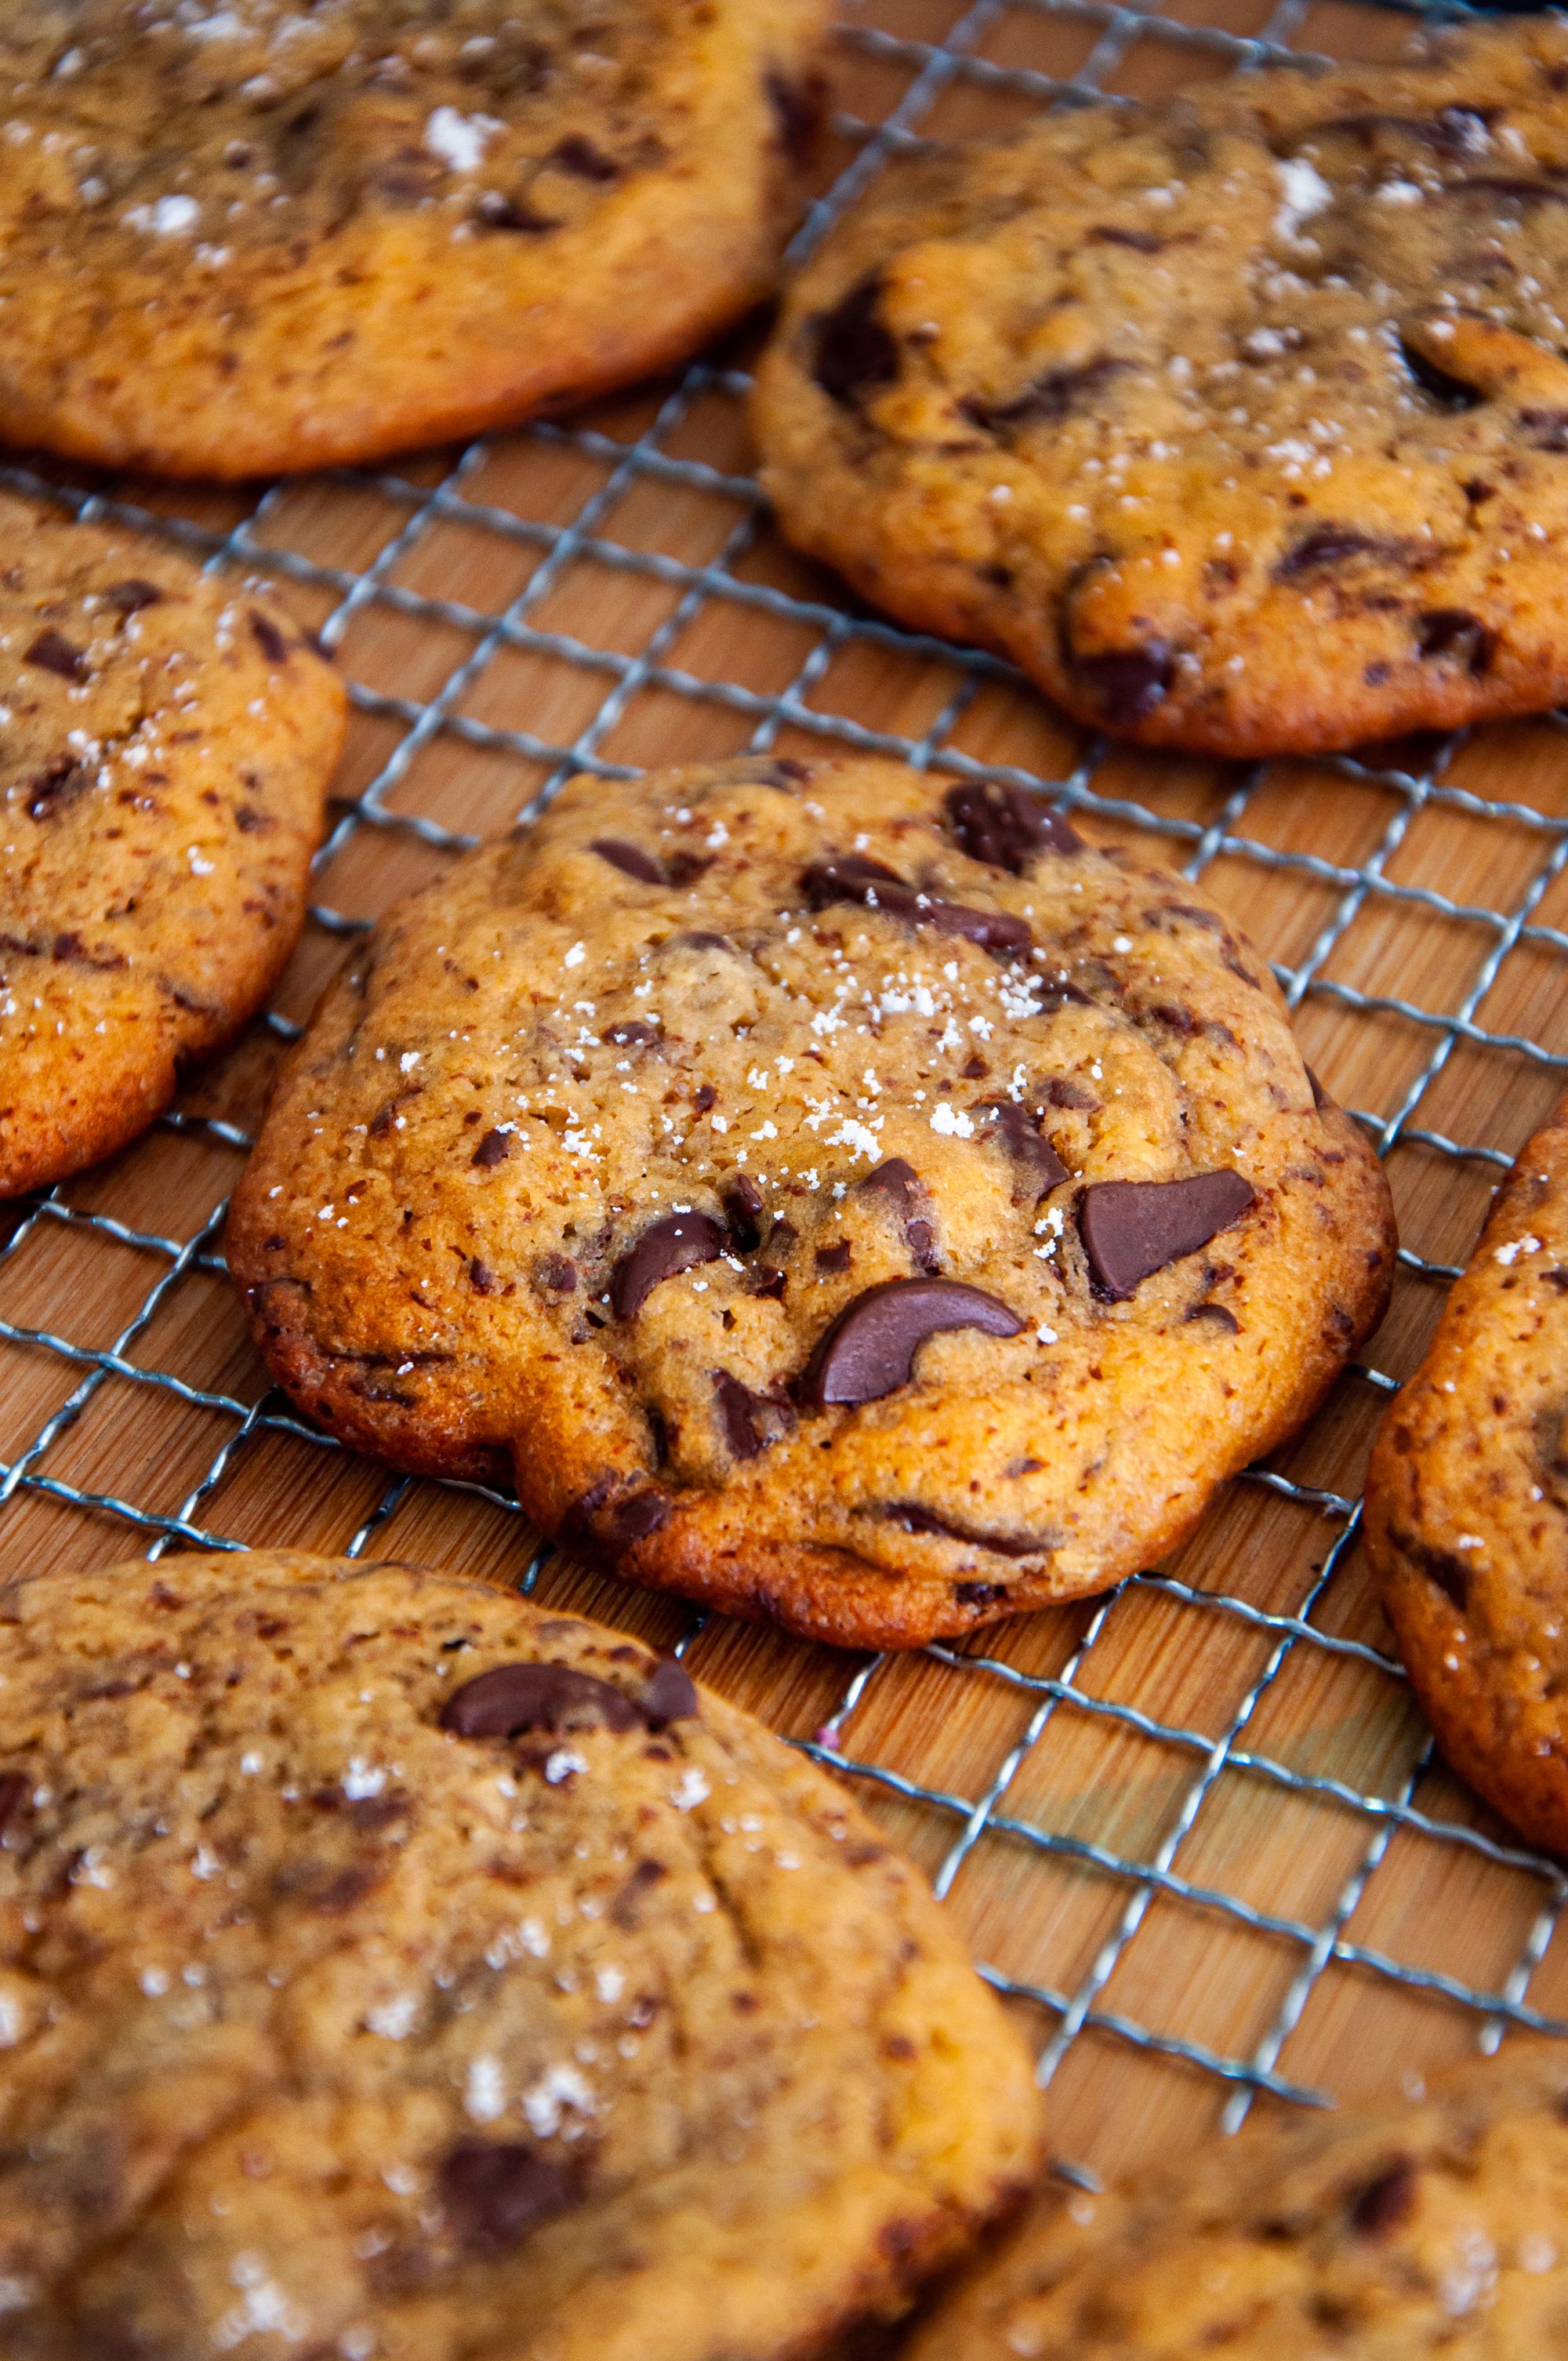
5. Transfer the cookies to an air-tight container. They can be stored at room temperature for up to five days.
Pro Tips
When making the brown butter, it’s best not to stay near the stove. Keep an eye on the butter as it melts. The process might seem slow at first, but things happen pretty quickly once it’s melted and starts bubbling. It is best to use a white pan, especially if this is your first time, to see the browning more easily. When it’s ready, it will smell heavenly—buttery, toasty, nutty. This will impart an excellent depth of flavor to the cookies.
Freezing your cookie dough is a must for this recipe. This step allows the fat in the dough to solidify—the harder the fat is, the slower the cookies will spread once inside the oven. If you baked the cookie dough right after mixing, you would end up with a cookie that’s spread too thin (possibly still delicious, but the texture will definitely be very different).
The addition of the sea salt (any type of flaky finishing salt will do, but we recommend Maldon) will provide another layer of saltiness, as well as an extra crunch.
